The issue of whether the wire type of the push rod connector is compatible.
Push-rod connectors, also called lever-type connectors. The following points are key considerations for wire matching:
| Wire Type | Suitable or Not | Description |
| Solid Wire | Suitable | Stable clamping after insertion |
| Stranded Wire | Suitable | Insert after lifting the lever, then lock firmly |
| Tinned Flexible Wire | Suitable | Confirm the compatible wire range |
| Thin Flexible Wire | Possibly Suitable | Must not be below the minimum wire size |
| Aluminum Wire | Generally Not Recommended | Most connectors are designed for copper wires |
| Ferrule-Terminated Wire | Depends on Hole Size | Oversized ferrules may not fit into the connector |
Suitable for solid, stranded, and flexible copper wires.
Is the rated current/voltage of this small push-rod connector sufficient?
Whether the rated current and voltage of a push-rod connector are sufficient depends on the specific application, the parameters of the electric push-rod motor, and the load requirements. There is no single answer; it is necessary to compare the actual current/voltage with the connector specifications.
This mainly depends on three parameters: Rated current, rated voltage, and Wire size.
The rated current and voltage of lever wire connectors depend on the model and wire size. Most standard connectors support up to 32A and 250V–450V, which are suitable for lighting, distribution boxes, and industrial electrical wiring applications.
If you are looking for products that offer stable connections, easy installation, and compatibility with various wire types, we offer a variety of lever-type terminal blocks to meet different electrical connection needs. Here are our products; click to view if you are interested.
Terminal Block Product Range – Shengling
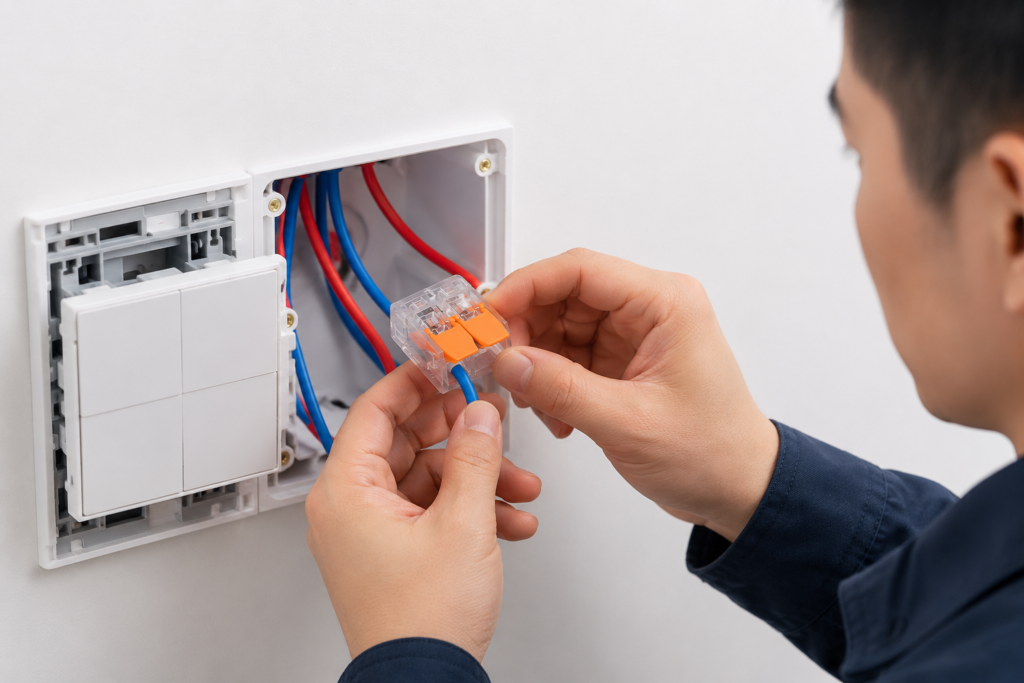
How to wire a push-rod connector?
This video will teach you how to connect wires.
In which scenarios are push-rod connectors suitable?
Push-rod connectors are widely used in various electrical connection scenarios due to their quick installation, stable wiring, and reusability, such as:
- LED lighting systems
- Distribution boxes and control cabinets
- Building electrical wiring
- Industrial automation equipment
- Home wiring
- Electrical repair and renovation
- Internal wiring of motors and equipment
It is especially suitable for applications that require quick wiring, save installation space, and improve construction efficiency.
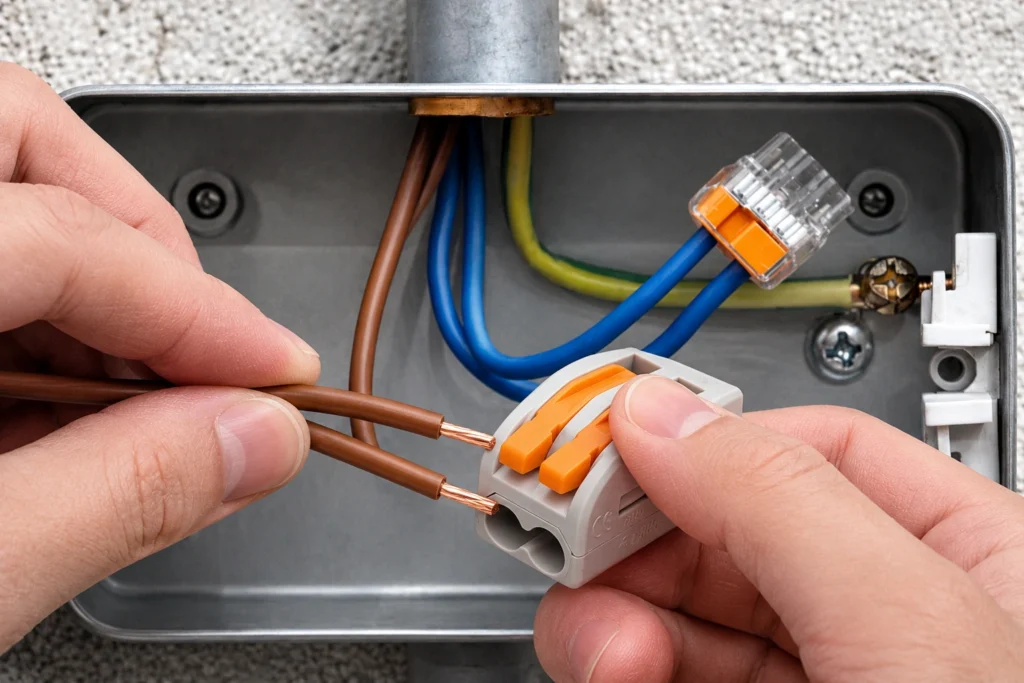
How to properly install a push rod connector to prevent it from loosening?
The key to preventing loosening of push-button connectors (push-in terminal blocks) lies in proper wire stripping, vertical insertion, and ensuring a tight lock.
To ensure a stable connection and prevent wire loosening, the following points are recommended when installing push-button connectors:
1.Use the Correct Wire Size
The wire size must be within the connector’s specified range. Oversized or undersized wires may cause unstable clamping.
2.Strip the Wire Properly
- The recommended stripping length is usually:
- 9–12mm (refer to the product marking for the exact specification)
If the stripped length is too short, poor contact may occur. If it is too long, copper conductors may be exposed.
3.Insert the Wire Fully
Make sure the conductor is completely inserted into the conductive area to avoid partial wire contact.
4.Lock the Lever Firmly
After inserting the wire, press the lever down completely to ensure the spring structure securely locks the conductor.
5.Avoid Improper Wire Combinations
When connecting wires of different sizes or types, confirm terminal compatibility to prevent uneven clamping force.
6.Perform a Pull Test After Installation
After wiring, gently pull the wire to ensure the connection is secure and reliable.
Five key points to avoid loosening
| Cause of the error | The correct approach |
| Stranded wire inserted directly | The sleeve must be crimped; otherwise, the wires will unravel and cause loosening. |
| Too short/too long stripping thread | Strictly follow specifications for wire stripping |
| Insert at an angle | Insert vertically all the way in, and you’ll hear a “click” sound. |
| No inspection | Gently pull on each wire to test and confirm it is secure. |
| Used in vibration environments | Select vibration-resistant model |
Troubleshooting
| Phenomenon | Possible reasons | Solution |
| The wire can be easily pulled out. | Too short stripped wire/not fully inserted | Strip the thread back to 11mm and push it in vertically to the bottom. |
| Extreme resistance during insertion | Core oxidation/Conductor too thick | Replace with a new wire, ensuring the wire diameter is within specifications. |
| Heats up after being powered on | Poor contact/excessive current | Check continuity and confirm rated current. |
| Loose after vibration | Unpressed sleeve/Incorrect model | Stranded wires must be fitted with sleeves; for vibration environments, select 222 cage springs. |
The core formula for preventing push-in terminals from loosening: Proper wire stripping (10-11mm) + vertical insertion to the bottom + gentle pull test = 10 years maintenance-free.